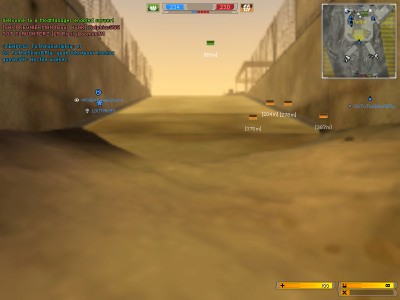
Moving on to Toll StationNow
again, it is better to take Toll, Ruins or EU base first. Let
us say you are just moving along with the crowd. The next point
you will come to is Toll. Toll is very easy to defend. A
well entrenched team has a lot of options to defend toll. There
are only so many ways in, and basically it presents a unified front.
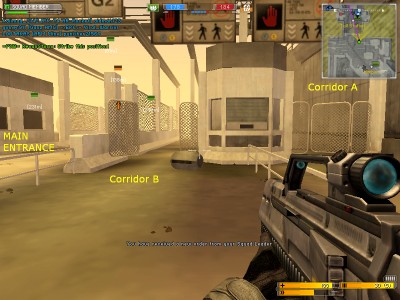
There are two paths above Toll with one walkway that you can
cross in the center. On the ground, you have corridor A, which is
the furthest to the right, Corridor B, a Roadway, the entry to the flag
compound, another roadway, and another A Corridor on the left.
The ladders leading up to the walkways are exposed and defenders
can be on the top waiting for you. Often times assaulting
teams will try to overwhelm the forces by moving down the A corridor on
the right or by making a run for the main compound by entering through
the small opening. I suggest, for both offensive and defensive purposes,
that corridor B is often overlooked and is a prime route for cloaking
on offense and a medic kit/shotgun combo on defense.
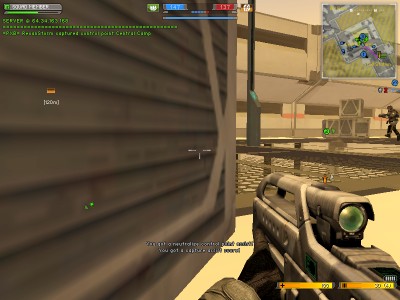
If
you have extra speed and stamina as well as an extended cloak, you can
sometimes run down corridor B and make it into Central Camp or head
behind the wall to move onto Ruins or EU base. Otherwise, you can
just try to duck and run for cover near the toll flag and begin turning
it. If you decide to approach Toll head on, I like to place a
mine in the middle of the entry way (offense or defense) which usually
is good for a kill. Then I proceed to the flag which I can turn
by staying cloaked or hiding. I avoid the area near the crates where enemy grenades often land.
Okay,
so let us say we take Toll Station. The next two stops are
Central Camp or Ruins. To begin with, we have a bottleneck for
entry points. You have two ways of accessing Central Camp area from the
roof area. At the same time there is a doorway entrance on the
left which is usually heavily guarded or the open approach you can take
through the roadway. Let me just say, you will often encounter
mines on the doorway on the left and should proceed with caution.
The open roadway is usually heavily guarded, but if you sprint
across the main roadway, you can find cover on the other side.
The good news about Central Camp is that it is really Swiss
Cheese Camp. The number of possible entry ways is astounding.
There are 4 possible lower entrances and two ways to access it
from the roof. There are multiple ladder points. The spawn
points are predictable. It is not a place you want to stay long
or be on defense for very long. (In my opinion, teams can do
better by sometimes letting go of Central and setting up a defense at
Ruins.)
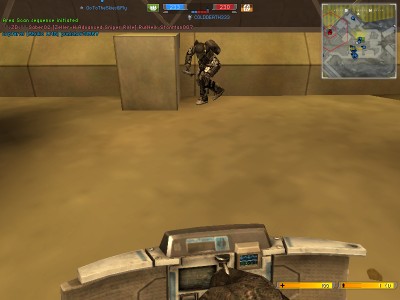
CENTRAL CAMPCentral
Camp itself is the worst to defend. Therefore, enjoy the
flexibility you have in assaulting central camp. I usually attack
from the lower rear access point in the middle, but you really cannot go wrong. Once
inside, you must run up the stairs to turn the flag. You can be
shot through the floor grates from below so you can never really get
too comfortable. I like to cloak up the stairs and place mines if
I can. Hiding out by the crates is generally a good idea.
Some people prefer to hide out in the corner near the flag, but I
do not like that place because you cannot see who is coming up the
stairs. If you have two apm mines you should place them at the
top of the stairways to provide extra protection.
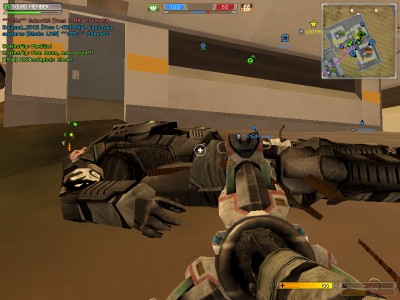
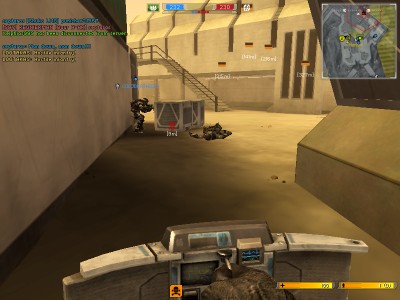
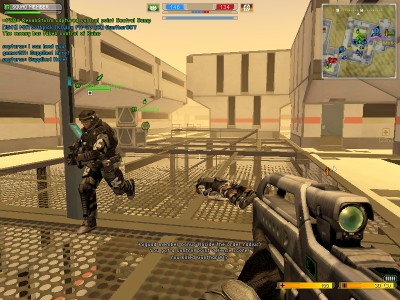
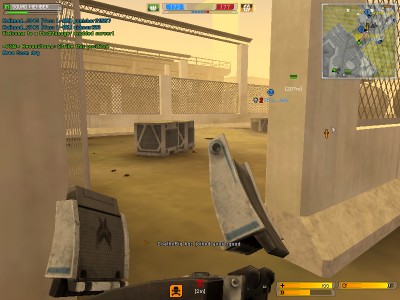
Here I am with
my assault kit hiding by a crate covering one staircase while my
teammate covers the other staircase. We have just turned the flag.
Because Central Camp is so hard to defend, I rarely take joy in capturing it unless it is one of the last flags.
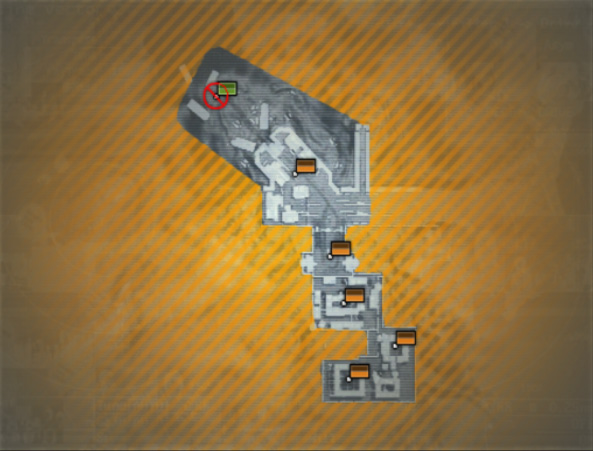
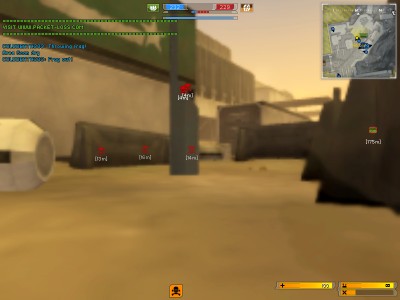
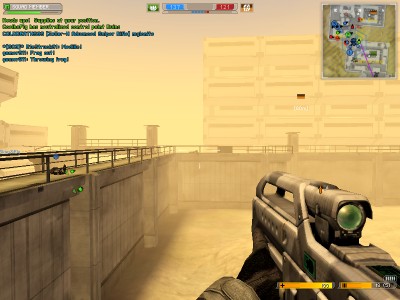
RUINS AND BEYOND Bottlenecks
and limited access points mean that the defense at Ruins can be brutal.
Often times I feel it is better to be in a stalemate at Toll
Station than to try the push through to Ruins from Central Camp. There
are several passages that lead through to ruins, but the passages tend
to form discrete bottlenecks. I have circled the obvious
bottleneck here. An astute defense will take advantage of this
bottleneck and bleed your tickets dry as you fruitlessly attempt to
assault.
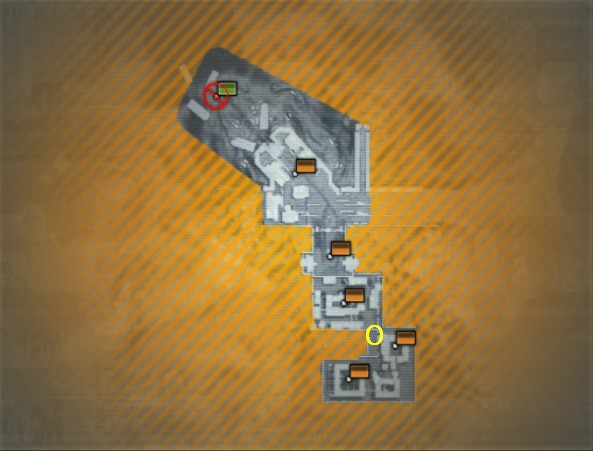
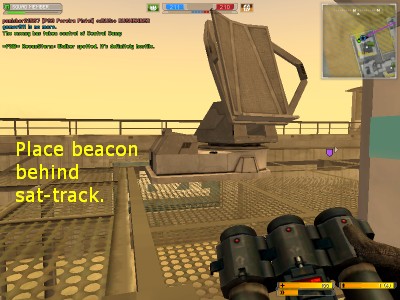
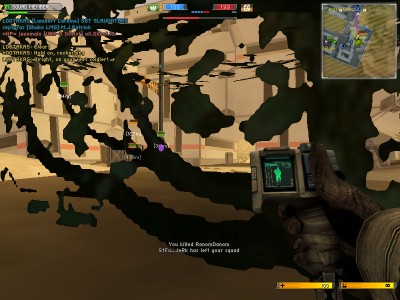
A
great way to try to get passed this is to get a squad leader beacon
placed somewhere beyond the bottleneck. One of the most frequent
choices is to place a squad leader beacon behind the ruins, halfway
between ruins and EU Base. I have placed a yellow circle on a
location which would be ideal for placing a beacon in the area behind
ruins. (An astute squad leader on defense might also place a
beacon in this area early in the round as an insurance policy against
being overrun by a vehicle or recon breaking through the lines).
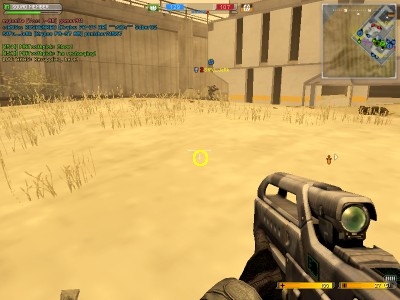
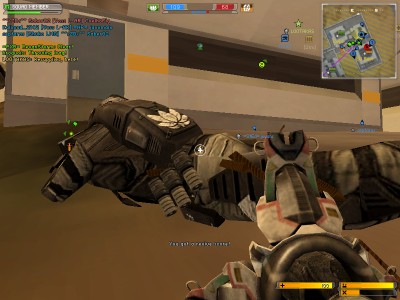
Sometimes
you can make it all the way back to EU BASE by taking the elevated
walkway from Central Camp towards EU Base. As is the case here,
you will often meet defenders and have to overcome resistance.
Here one of my teammates is killed but I can identify the
defender in the background.
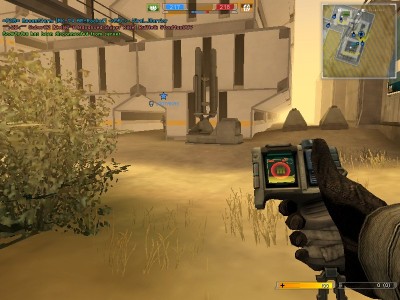
If you are the squad
leader and manage to cloak back there or otherwise get behind EU base, there are several excellent
places to put a beacon. Here is one suggestion.
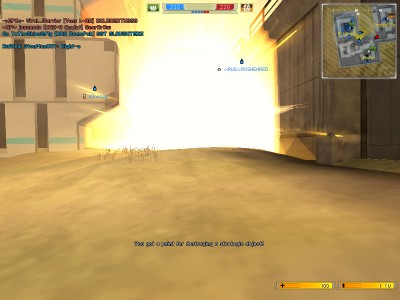
Here, as I am just the squad member, I am going to blow the asset.
Definitely blow enemy assets if you get the chance. The
order of importance of blowing the enemy assets are as follows:
UAV, Sat Track, Orbital, EMP strike. The good news is that
the location of the UAV and Orbital Strike are easily accessible from
Ruins. The Sat Track is harder as it is on the roof in the back.
It usually takes between 2 and 3 RDX packs to blow an asset.
Getting back to ruins, assuming you have entered the main
flag capture area of ruins, I like to hide somewhere and turn the flag.
A lot of people spend their time in the corner by the crates.
For that reason, I cannot recommend it. One place I
sometimes hide is cloaked by the bushes. Again, flexibility in
location is key. You never want to get too predictable.